Sep
14
Written by:
Michael Washington
9/14/2010 6:52 PM

To demonstrate LightSwitch functionality in a real world example, I have decided to create a Student information System. Eventually this will handle attendance and grades, but, for this first installment it will simply allow you to enroll students.

First, let us examine how a Student Information System usually works. A Course, and a Teacher make up a Section. A Student and a Section make up an Enrollment.
An Enrollment is the “heart” of a Student Information System. A Section, and an Enrollment are for a “period of time”. Grades, Attendance, and all other elements of the Student Information System, are tied to (associated with), Enrollments.
In this article we will build the system up to Enrollments.
You can get a copy of LightSwitch from: http://www.microsoft.com/visualstudio/en-us/lightswitch
Create The Project

Create a new Visual Studio project.

Call it LightSwitchStudentInformationSystem.
Set-up The Security

In the Solution Explorer, right-click on Properties and select Open.

Select Access Control, and select Use Forms authentication.

Also in Access Control, create TeacherAccess and AdministrativeAccess permissions, and check Granted for debug for all permissions.
The SecurityAdministration permission is built-in and allows a user to have access to the built-in User and Roles management screens.
The TeacherAccess and AdministrativeAccess permissions will be used by custom code (created in a later tutorial) to determine what menu items a user will have access to.

Hit F5 to run the application.

You will be able to create Roles and indicate what Permission each role has.
Create an Administrators role with “Administrative Access” and a Teacher role with “Teacher Access”.

You will also be able to create users and assign them to Roles.

Create a user called TestUser. When you are debugging you are always this user. We need to add the user to the user’s table, because later we will assign Students to this user.
Close the Silverlight application, and return to Visual Studio.
Create The Tables

In the Solution Explorer, right-click on Data Sources and select Add Table.

Create a table called Subject (you click on the title at the top of the table and type to change the name), with the schema you see above.

Create a table called Course with the schema you see above.
Click on the Relationship button.

Set the criteria you see above and click OK.

You will see a Subject field added to the Course table that associates Course with Subject.
LightSwitch will maintain data integrity, and not allow us to delete a Subject that has associated Courses.

Create a table called Teacher with the schema you see above.

Create a table called Section with the schema you see above.

Click on the Relationship button.

Set the criteria you see above and click OK.

Click on the Relationship button.

Set the criteria you see above and click OK.

Click on the Computed Property button.

Call the field SectionDisplay and give it the Type of String.

In the Properties window, click on the Edit Method link.

Enter the following code:
if ((this.Course != null) && (StartDate != null) && (Teacher != null))

{

    // Set result to the desired field value

    result = String.Format("{0} ({1}) [{2} - {3}]", Course.CourseName, Teacher.UserName,

        StartDate.ToShortDateString(), ((StopDate.HasValue) ? StopDate.Value.ToShortDateString() : ""));

}
Save the code and close the code window (very important, otherwise you will get an error when you try to run the application).

Click on the name of the Section table.

In the Properties for the table, set SectionDisplay as the Summary Property.
We do this because when we create the Screens to display the data, we want this field to be used whenever there is a list that is only able to display one field for the table (usually a selection list).

Create a table called Student with the schema you see above.

Create a table called Enrollment with the schema you see above.

Click on the Relationship button.

Set the criteria you see above and click OK.

Click on the Relationship button.
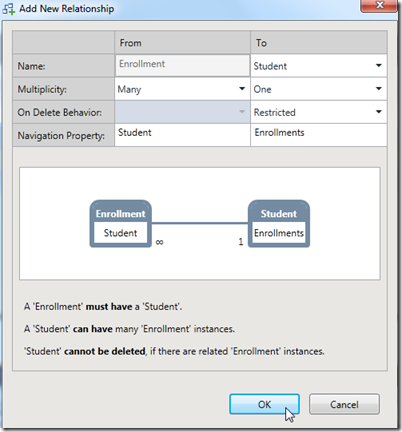
Set the criteria you see above and click OK.

Click on the Computed Property button.
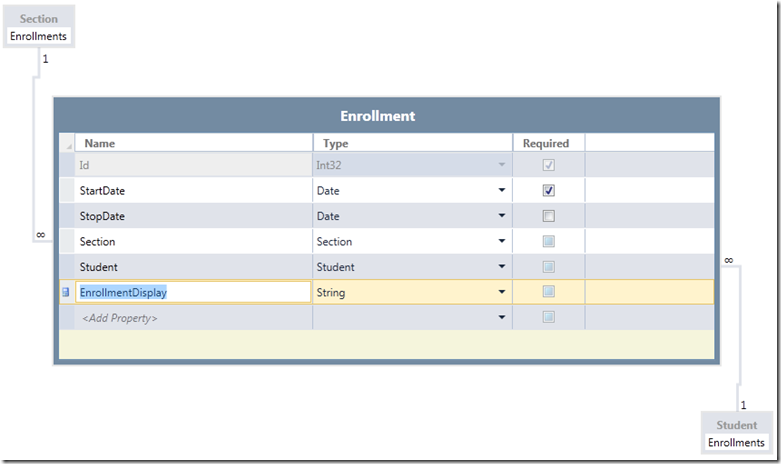
Call the field EnrollmentDisplay and give it the Type of String.
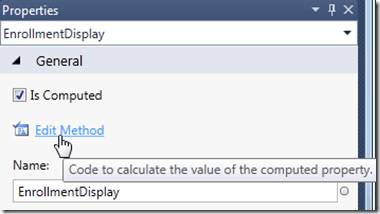
In the Properties window, click on the Edit Method link.

Enter the following code:
if ((Student != null) && (Section != null) && (StartDate != null))

{

	// Set result to the desired field value

	result = String.Format("{0} ({1}) [{2} {3}]", Student.DisplayName,

	this.Section.Teacher.UserName,

	Section.Course.CourseName, StartDate.ToShortDateString());

}
Save the code and close the code window.

Click on the name of the Enrollment table.
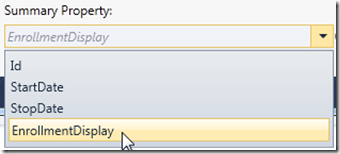
In the Properties for the table, set EnrollmentDisplay as the Summary Property.

Next, click on StartDate and then click “Include in Unique Index”. Repeat the steps for the Section and Student fields.
The reason we do this, is to prevent a duplicate enrollment. Normally a primary key would be set on the database table to prevent data from being saved that would violate business rules (a student cannot have two enrollments in the same section that start on the same day).
With LightSwitch, you simply add the fields, to the Unique Index, that should not be duplicated.

Save and Build Solution.
Create Screens
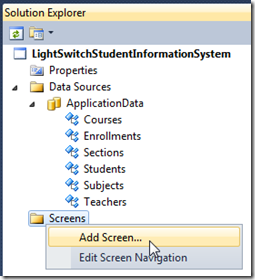
In the Solution Explorer, right-click on Screens and select Add Screen…
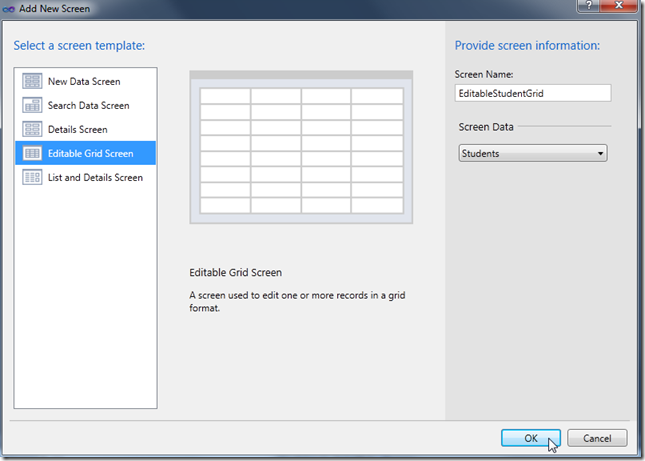
Select Editable Grid Screen, and select Students for Screen Data, and click OK.
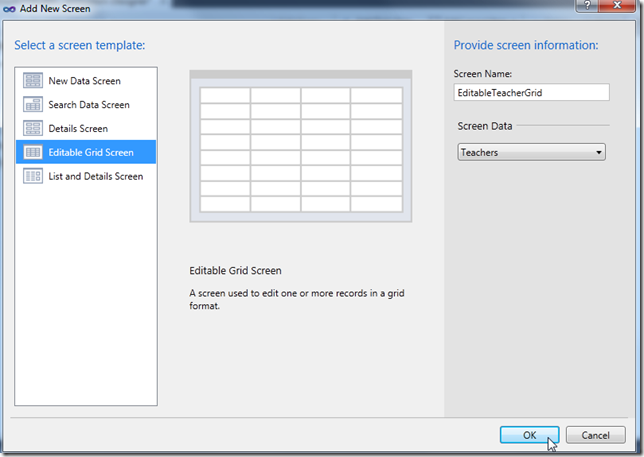
Select Editable Grid Screen, and select Teachers for Screen Data, and click OK.
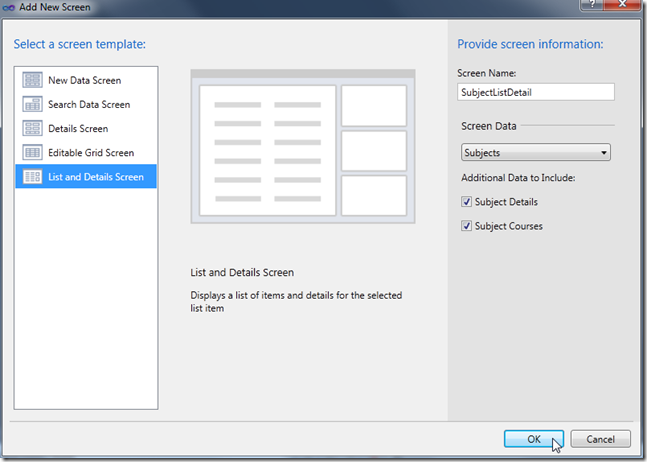
Select List and Details Screen, and select Subjects for Screen Data.
Select Subject Details and Subject Courses for Additional Data to Include, and click OK.
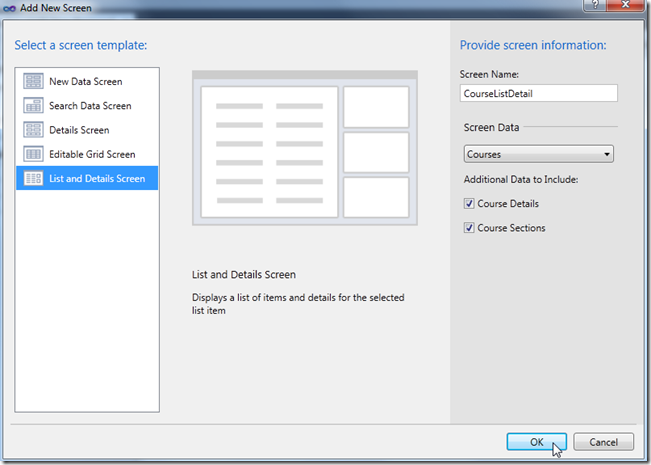
Select List and Details Screen, and select Courses for Screen Data.
Select Course Details and Course Sections for Additional Data to Include, and click OK.
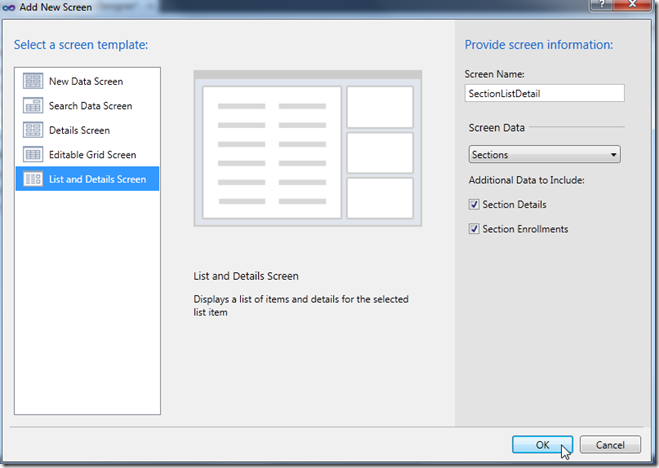
Select List and Details Screen, and select Sections for Screen Data.
Select Section Details and Section Enrollments for Additional Data to Include, and click OK.

Your Solution Explorer should resemble the image above.
Enter Data

Hit F5 to run the application.
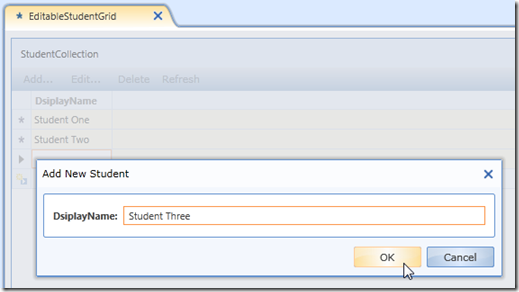
Enter some Students.
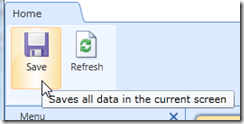
Remember, you will need to click the Save button in the upper left-hand corner to save the data.
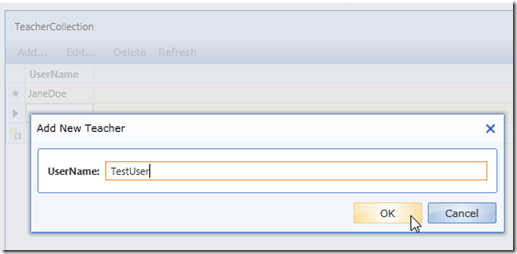
Enter Teachers by using the user name.
Ensure you create a Teacher named TestUser (you will need it later).
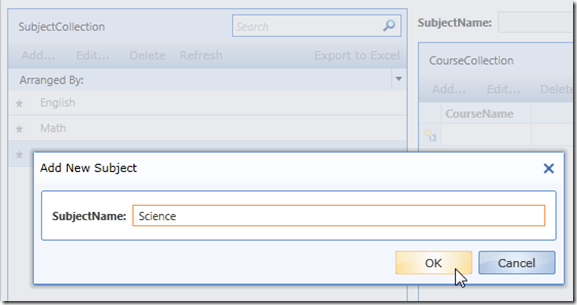
Enter Subjects.
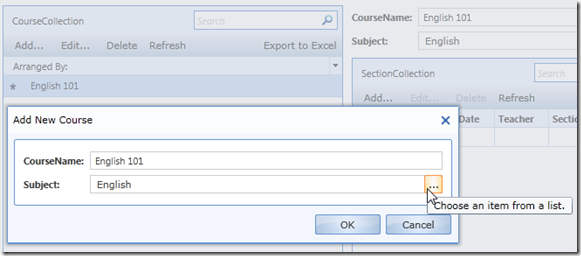
Enter Courses. Notice you will be able to use the … button to select a Subject.
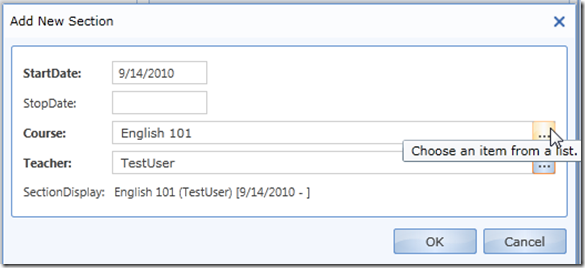
Enter Sections. Notice you will be able to use the … button to select a Course and a Teacher.
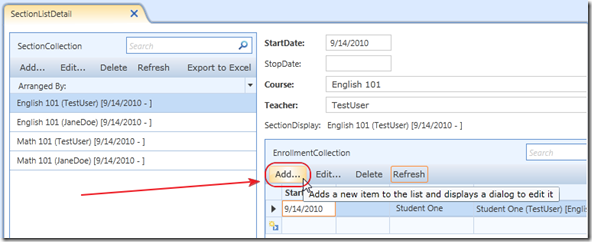
On the Section screen, you will be able to enter Enrollments.
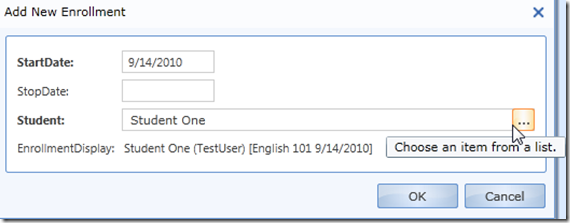
You will be able to select a Student using the … button.
Create enrollments for TestUser that begin before the current date (you will need them later).
Note: You will notice that it is possible to create an Enrollment that does not match the valid dates for the Section. We will show how you can add code to prevent this in a future article in this series. However, with LightSwitch you never HAVE to write code, so it is an option to simply enter only valid data.
Home Page To Show Teachers Their Currently Enrolled Students
As the final task for this tutorial, we will create a Home Page for Teachers that shows them the students that are currently enrolled in their sections.
See the tutorial: A LightSwitch Home Page for instructions on creating a Home Page that shows the Name of the current user, and how to set the screen as the Startup Screen.
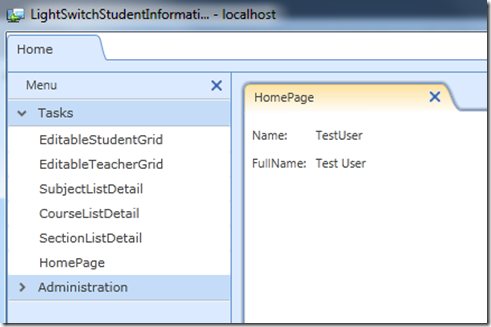
When you make the changes, and you run the application, it should look like the image above.

In the screen designer, click the Add Data Item… button.

Select Queries then Enrollments (SelectAll).

Select Edit Query next to EnrollmentCollection.
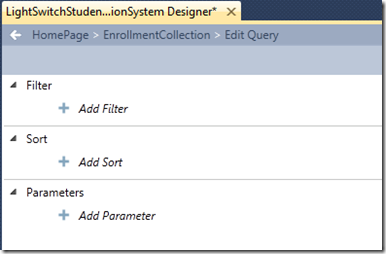
The Edit Query screen will show.
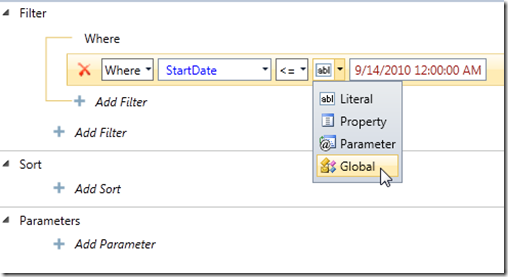
Create a filter for the StartDate.
Select Global for the Value Type.
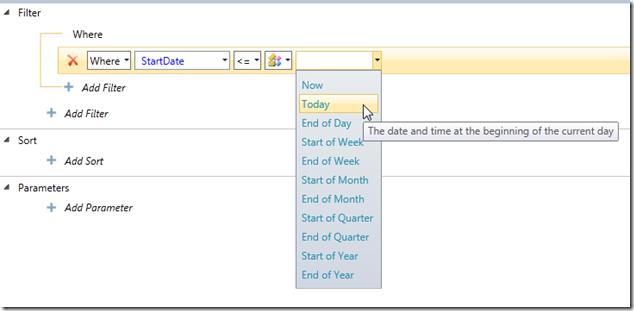
This will allow you to select Today for the value.

Continue to add conditions to the filter as seen above.
When you add the criteria for Teacher, you will be able to navigate to it.

Select Parameter.

Select Add New…

Enter Teacher for the Parameter name.

Click on Back to HomePage, to return to the screen designer.

Click on the Teacher parameter.
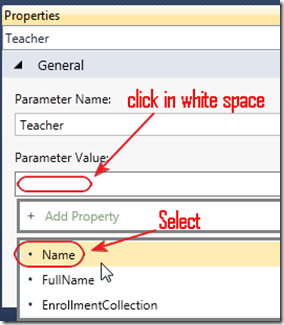
In the Properties, select Name for the Parameter Value.

You will see a line connecting the Teacher parameter to the Name.

Add the EnrolmentCollection to the screen.

It will add it as a DataGrid, click on it and change it to a List.

Right-Click on the Command Bar and select delete. The Command Bar section will still show, but all the buttons inside it will be deleted.

When you run the application it will show the currently enrolled students for the Teacher.
You can download the source code here:
http://silverlight.adefwebserver.com/files/LightSwitch/LightSwitchStudentInformationSystem_Part1.zip
The LightSwitch Student Information System Series